Drawing – Dog Curled on Bed

With a close-up of a dog face under my belt, it was time to tackle a different perspective. This is my mom’s dog, Dixie, in full dream mode. She’s very camera shy, so this is as good as reference photos get for her.


First session lasted a couple of hours, but only after having done an initial reference sketch, which helped get the difficult curled up shape and proportions of body parts just so. Once I had this much done I had to give my arm a break. All those hairs start to drive you nuts. Pretty good start, but a little creepy since she’s floating on the page. Dixie Drawing Lg Another session, probably 90 minutes, got the obvious dog bed in place, but also worked the ebony pencil to get the values right on the folds of Dixie’s coat. Dixie Drawing Finished

Pretty happy with the final composition. I’m genuinely surprised at how quickly this came together. There were 3 big challenges with this drawing.

1. The face and general complexity of dog parts involved in a curled canine. But the reference photo was really washed out for the face, so I had to draw what I knew was there rather than just what I saw, b/c I knew what I was looking at was wrong.

2. The hair is much different compared to my previous effort with Zip’s dog face. The strokes are longer and thinner. It was also very tricky to get the white dotted pattern and random splotches in some places just right. Used a 2B for most of the hairs, but in some spots experimented with an HB.

3. The values on a curled up dog SUCK! I’d love to blame it on the lighting in the photo, but even if the lighting was studio quality, I’m pretty sure the challenge of gradating values to show the change in depth in the curled center area would be the same. But I got it to a good point and decided I better leave it alone.

Overall very happy with this one. I’ll have to do a similar composition of my dogs curled on their beds.

San Francisco and Golden Gate Diptych

Long overdue for a post. Been working a lot on drawings (animals), finishing the Lines & Blossoms piece, and started this new diptych.

Reference photo was taken by me a couple years ago. It’s an amazing vantage point from the Marin headlands looking back towards the city. Breathtaking!

SF and Golden Gate reference photo

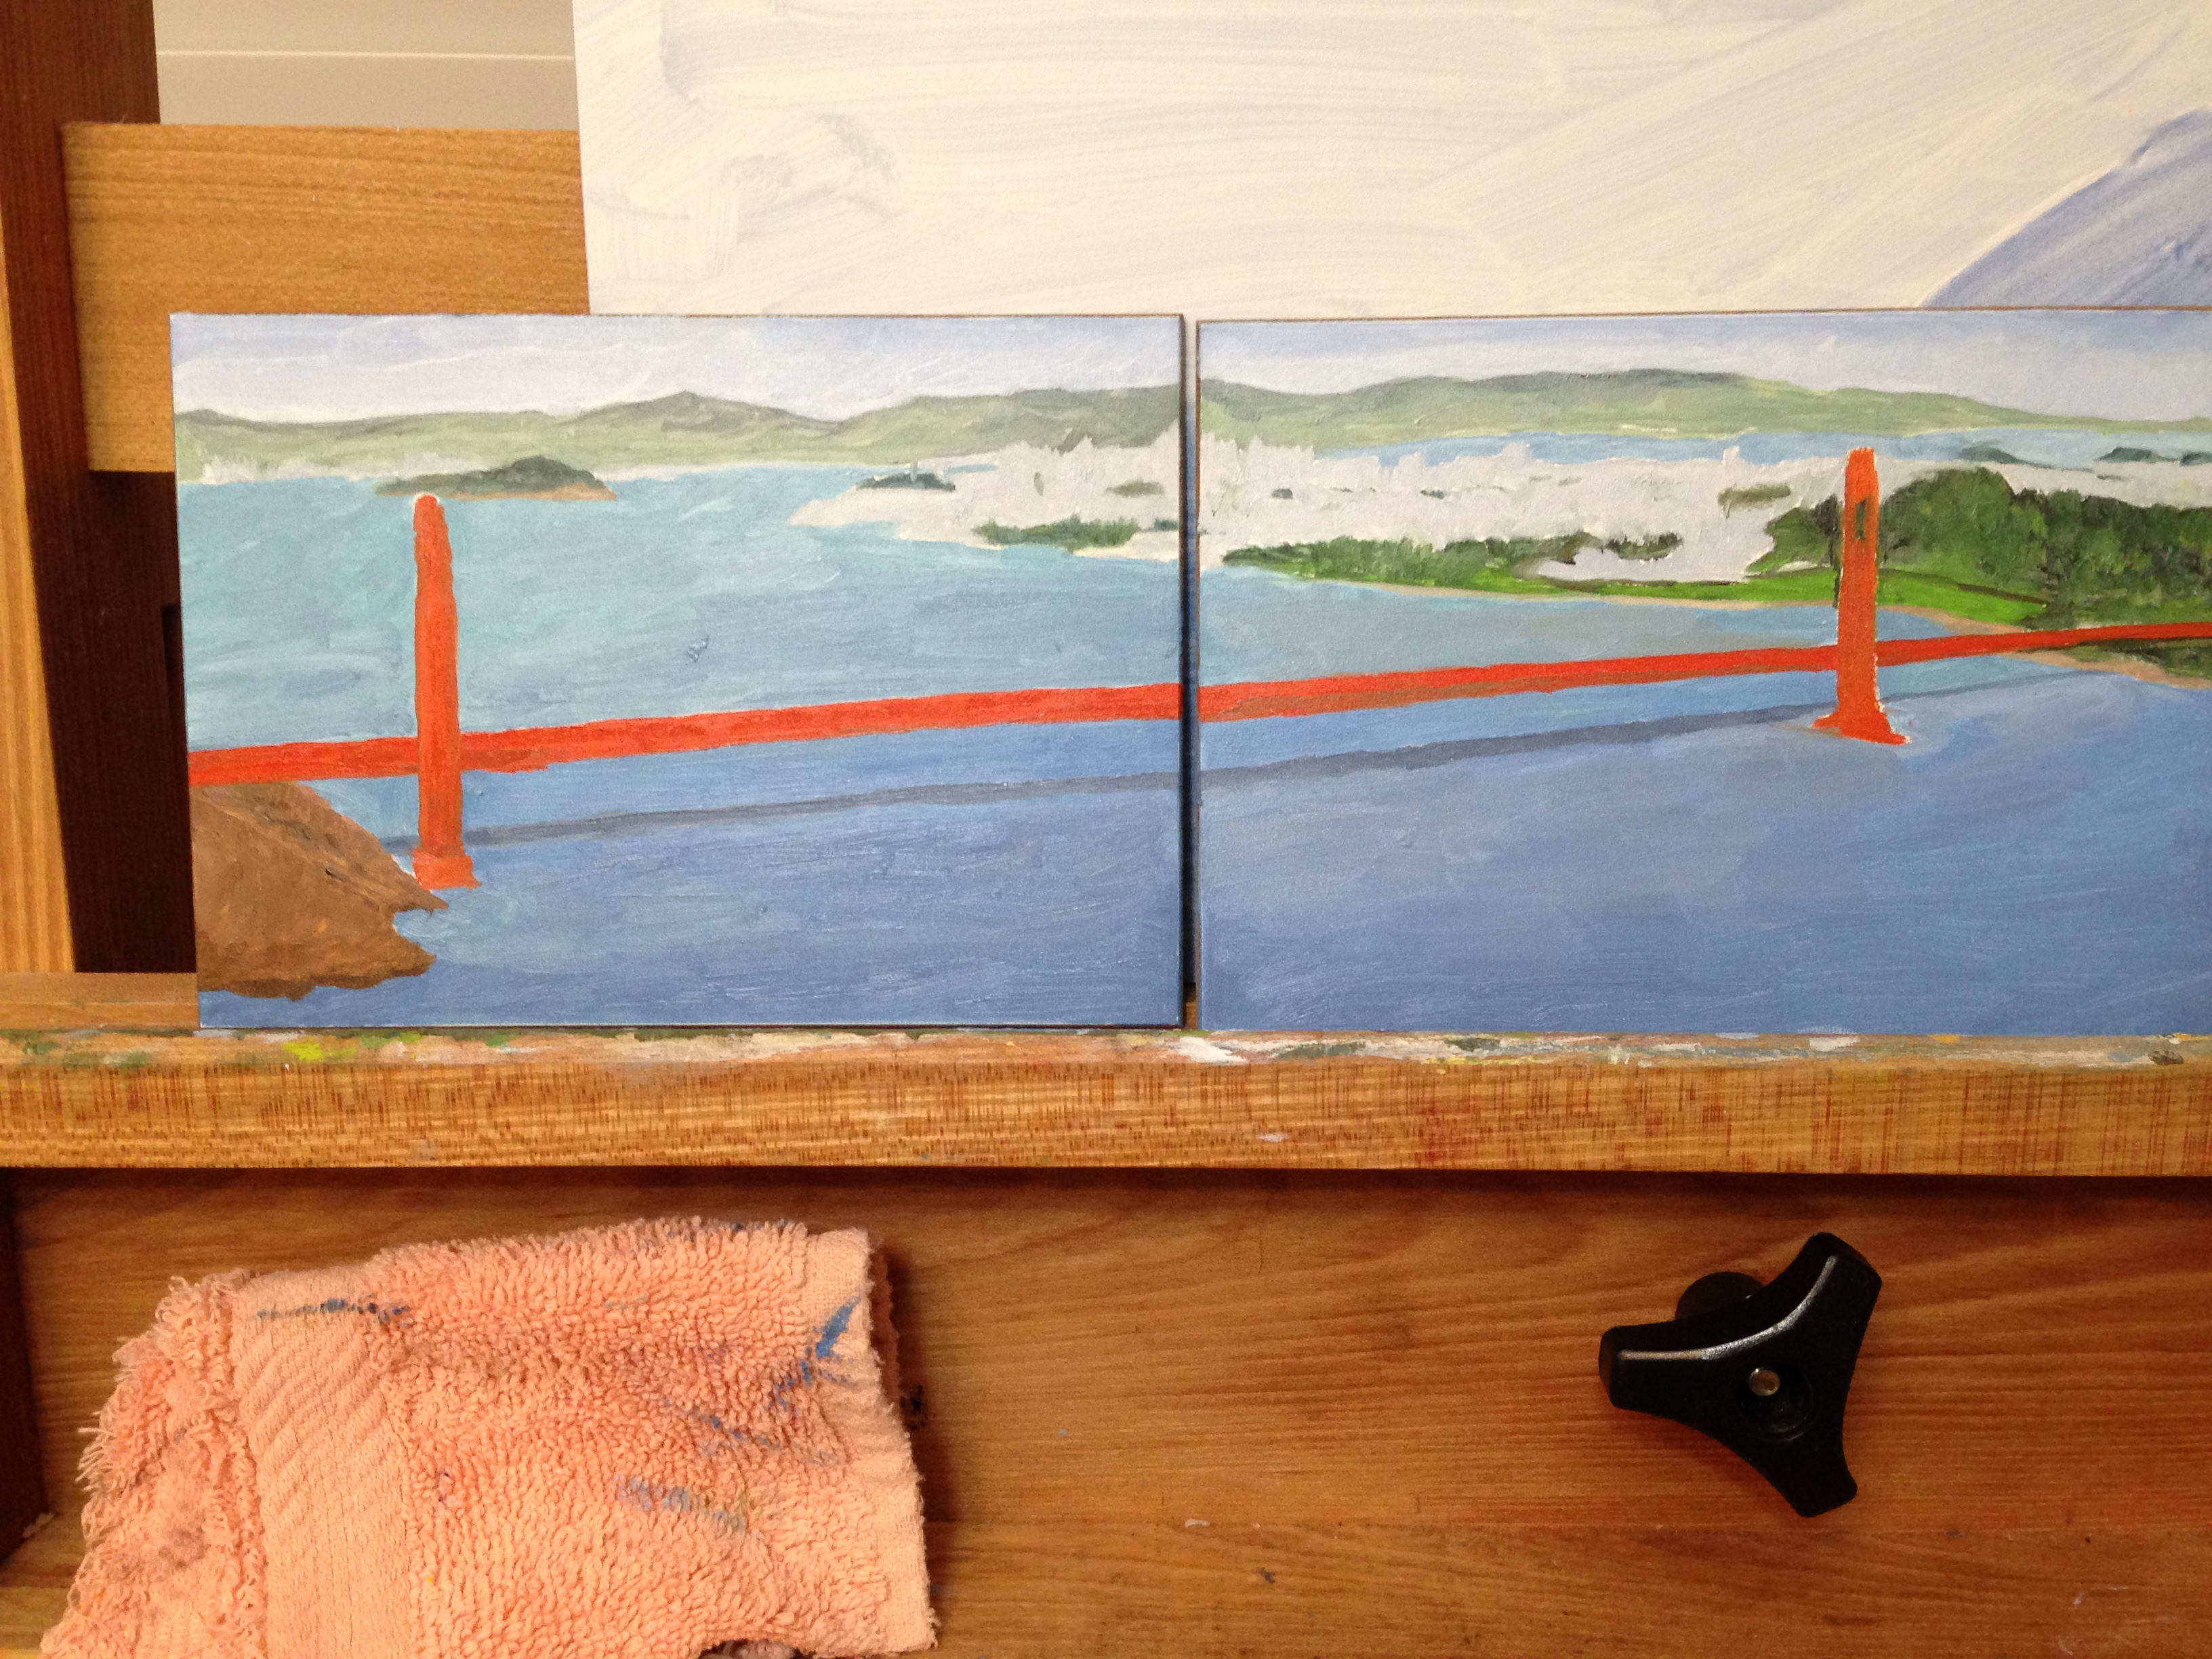
This is my first true diptych, as well as my first painting on wood. The panels are small (5″x7″) and pre-treated. Below is the rough drawing outline, which I had practiced in my sketch book a couple times prior. What worked best for me, which wasn’t the way I first tried to do it, was to draw from the horizon/back of the composition “forward” to the bridge and foreground. It was much, much easier to get the angle and proportion of the GG bridge with the city roughed into the background for reference points.

rough drawing to get scale on panels

This first session was short by my standards, perhaps a couple of hours. It moved quickly because of the small size and the color mixes came together faster than usual. The details will come in the next session, but I think getting the lighting on the cityscape is going to be tricky but critical to ensure the piece has the right depth.

IMG_2813

Drawing – Vine Tomatoes Part 1

So at first, I was intimidated, and a little concerned that I had angered my drawing teacher, Laurie, because she recently told me to draw this…

IMG_0167

What the hell! Tomatoes, lots of them, with the vines attached. As the sweat began to bead on my forehead, she showed me in her Mr Miyagi way that to draw a a batch of vine wrapped tomatoes, I simply had to combine all my past lessons of what seemed like an endless array of geometric shapes – spheres, cones, cylinders – into one drawing. I guess she was right because in short order I came up with this…

IMG_2809

I’m pleasantly surprised with the results and actually look forward to working in the rest of the tomatoes, well, most of them. Whoda thunk that drawing fruit could be so fun.

Lines & Blossoms – Update

This continues to be a rewarding effort, despite the learning curve. Updates from last post include adding details to the tree blossoms, tree trunk texture, improvements to the door to the right of the tree, and some small line detailing in the buildings.

IMG_2806

Still need to figure out how to get the cherry blossoms to look more realistic, while figuring out how to transition the values in the tree to give it a sense of volume. While I love the colors thus far, the result is still flat and lacking depth. It’ll get there, but I haven’t figured out how just yet.

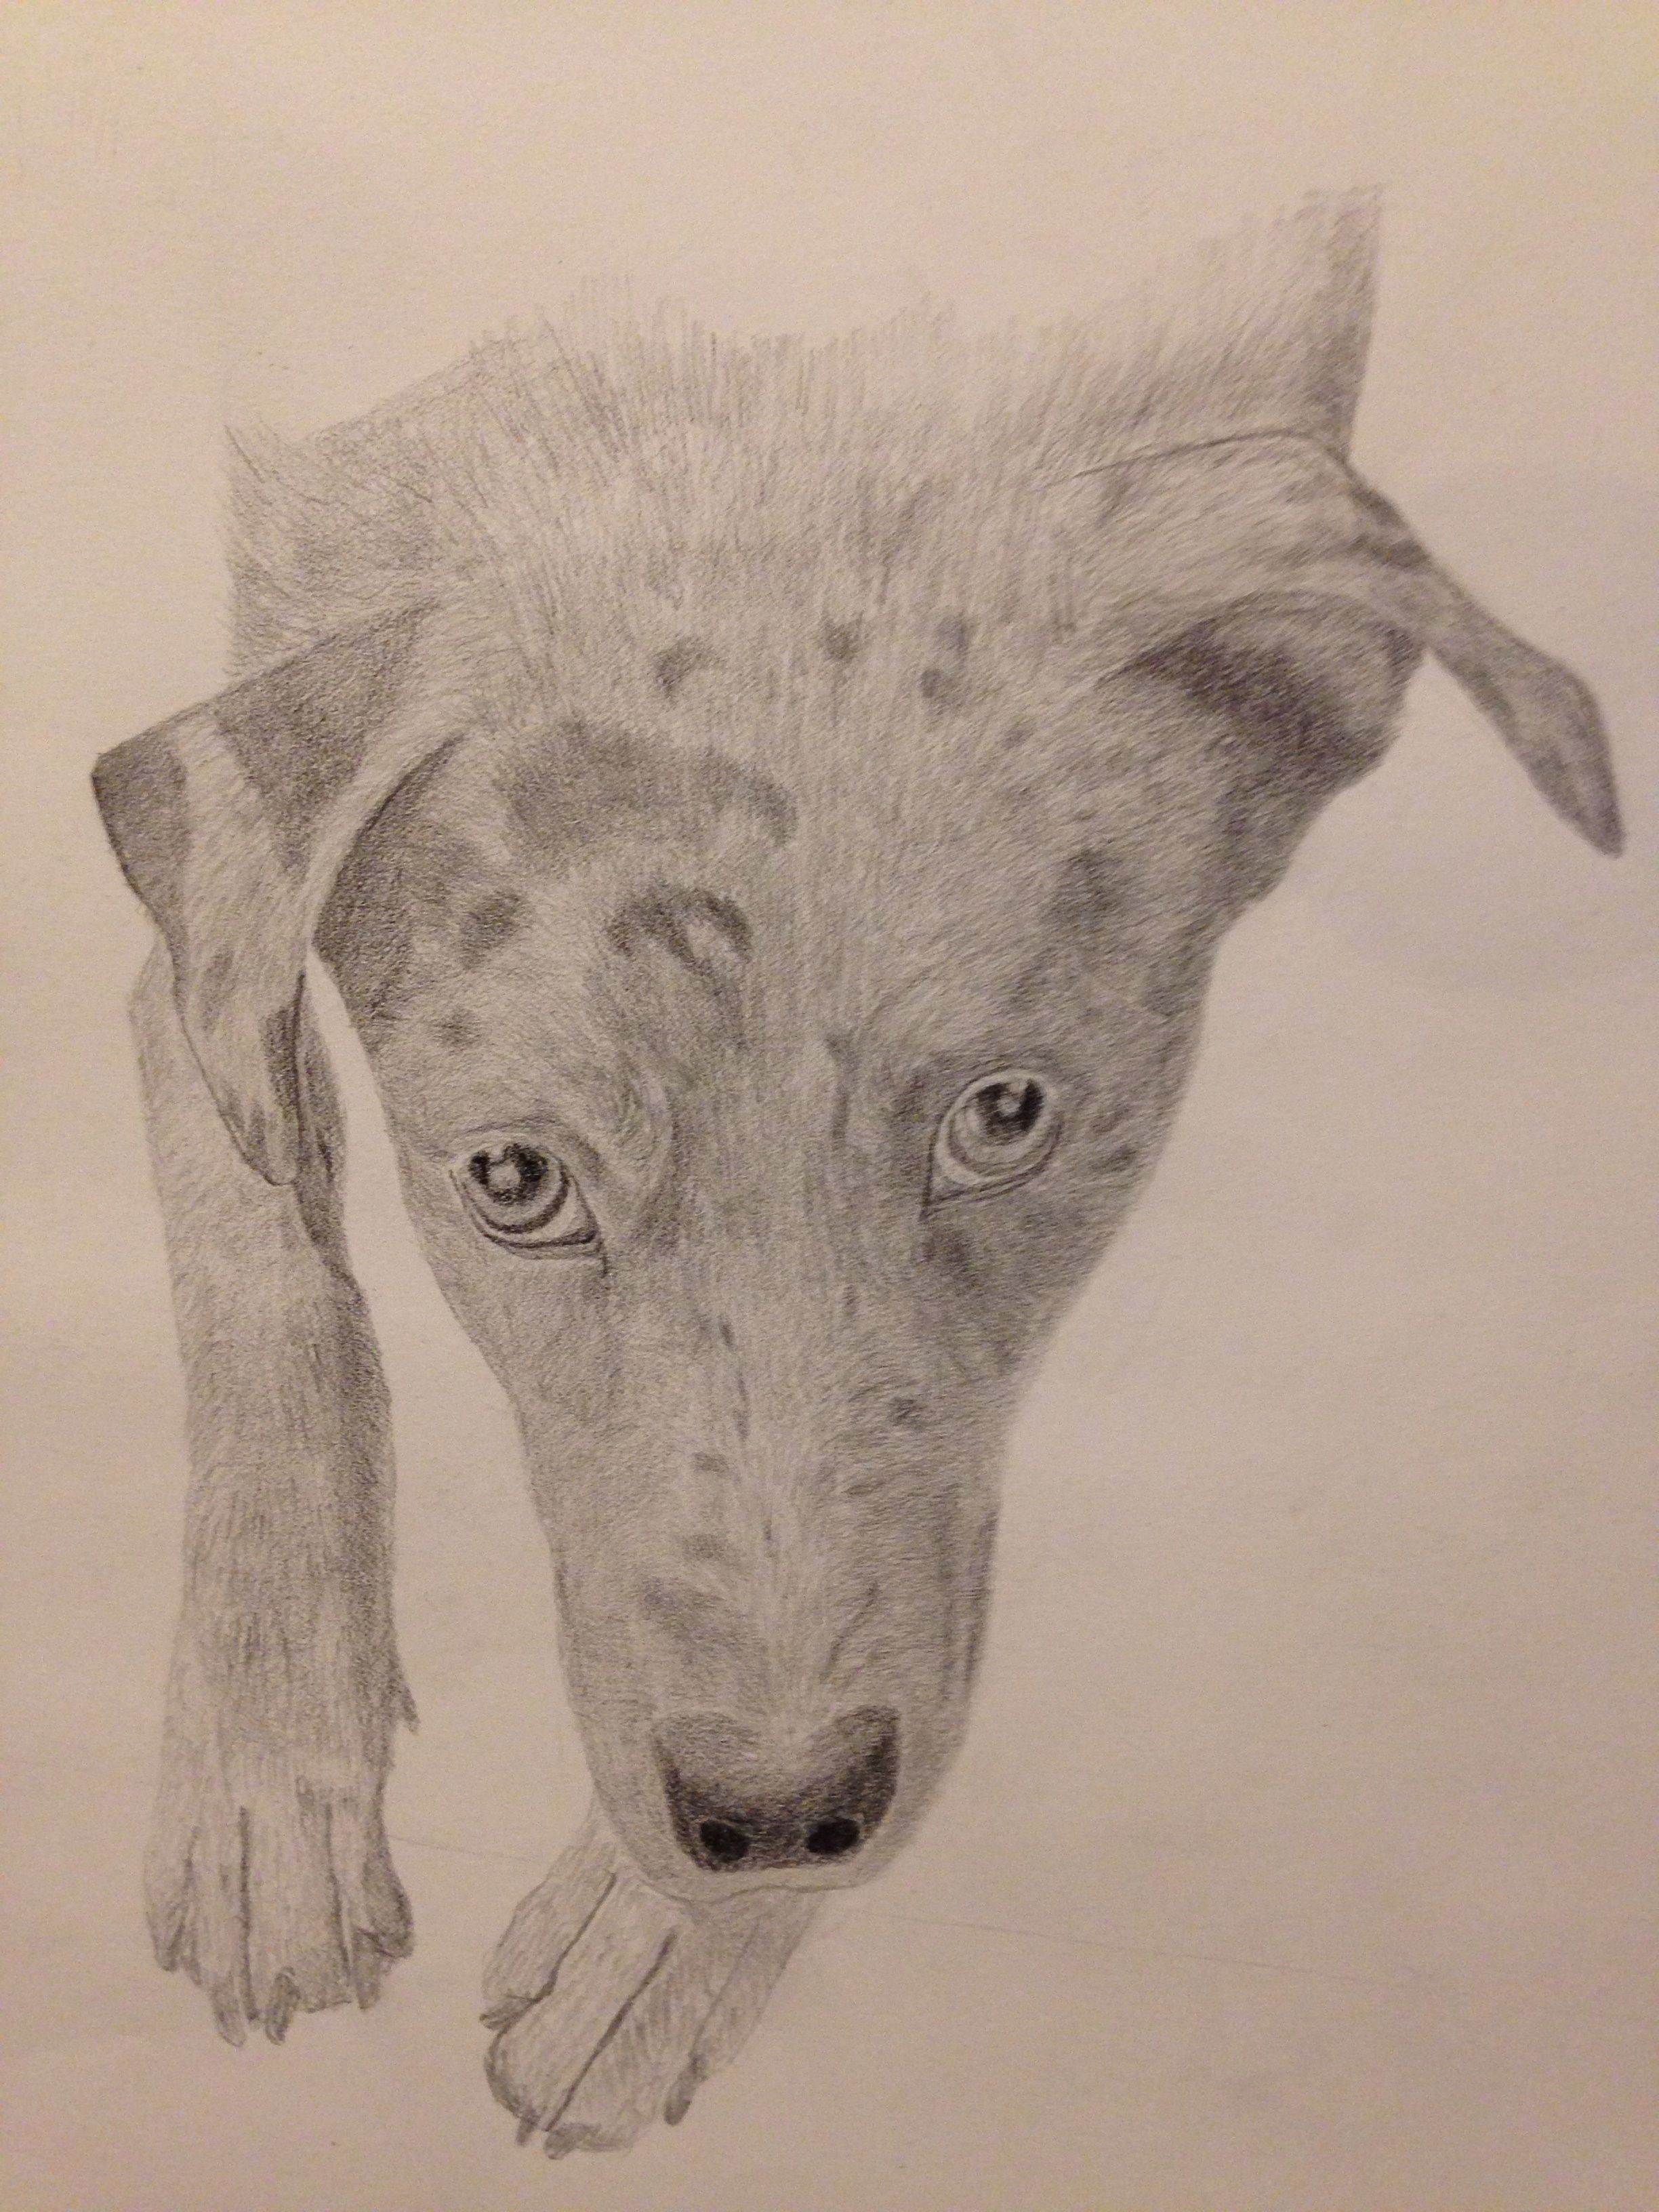
“Play with me?” done

So it may not look like much was done between the last post of Zip’s face, which I’ve decided to call “Play with me?”, but I spent a couple of short sessions trying to get the shading just right so the composition has more depth. I think I’ve taken it as far as I can and ready to move on, although my drawing instructor (Laurie) may have something else to say about that, but I’m really happy with it for my first real effort at a dog face drawing. Now I have 2 other dogs who are jealous and ready for their turn in the studio.

IMG_2804

For those interested in the technical details:

  • Used 3 pencils in the composition – 2B, HB, and an ebony
  • Strathmore drawing paper, 14×17, but used about 75% of the page
  • Not sure how much total time, but best guess is probably 6 hours
  • Reference photo of Zip was taken indoors, light source was a table lamp in upper left corner
  • Zip is a 2 year old rescue mutt, Aussie Catahoula mix; she’s ball obsessed and the biggest personality on 4 legs I’ve ever met