Lines & Blossoms – Update

This continues to be a rewarding effort, despite the learning curve. Updates from last post include adding details to the tree blossoms, tree trunk texture, improvements to the door to the right of the tree, and some small line detailing in the buildings.

IMG_2806

Still need to figure out how to get the cherry blossoms to look more realistic, while figuring out how to transition the values in the tree to give it a sense of volume. While I love the colors thus far, the result is still flat and lacking depth. It’ll get there, but I haven’t figured out how just yet.

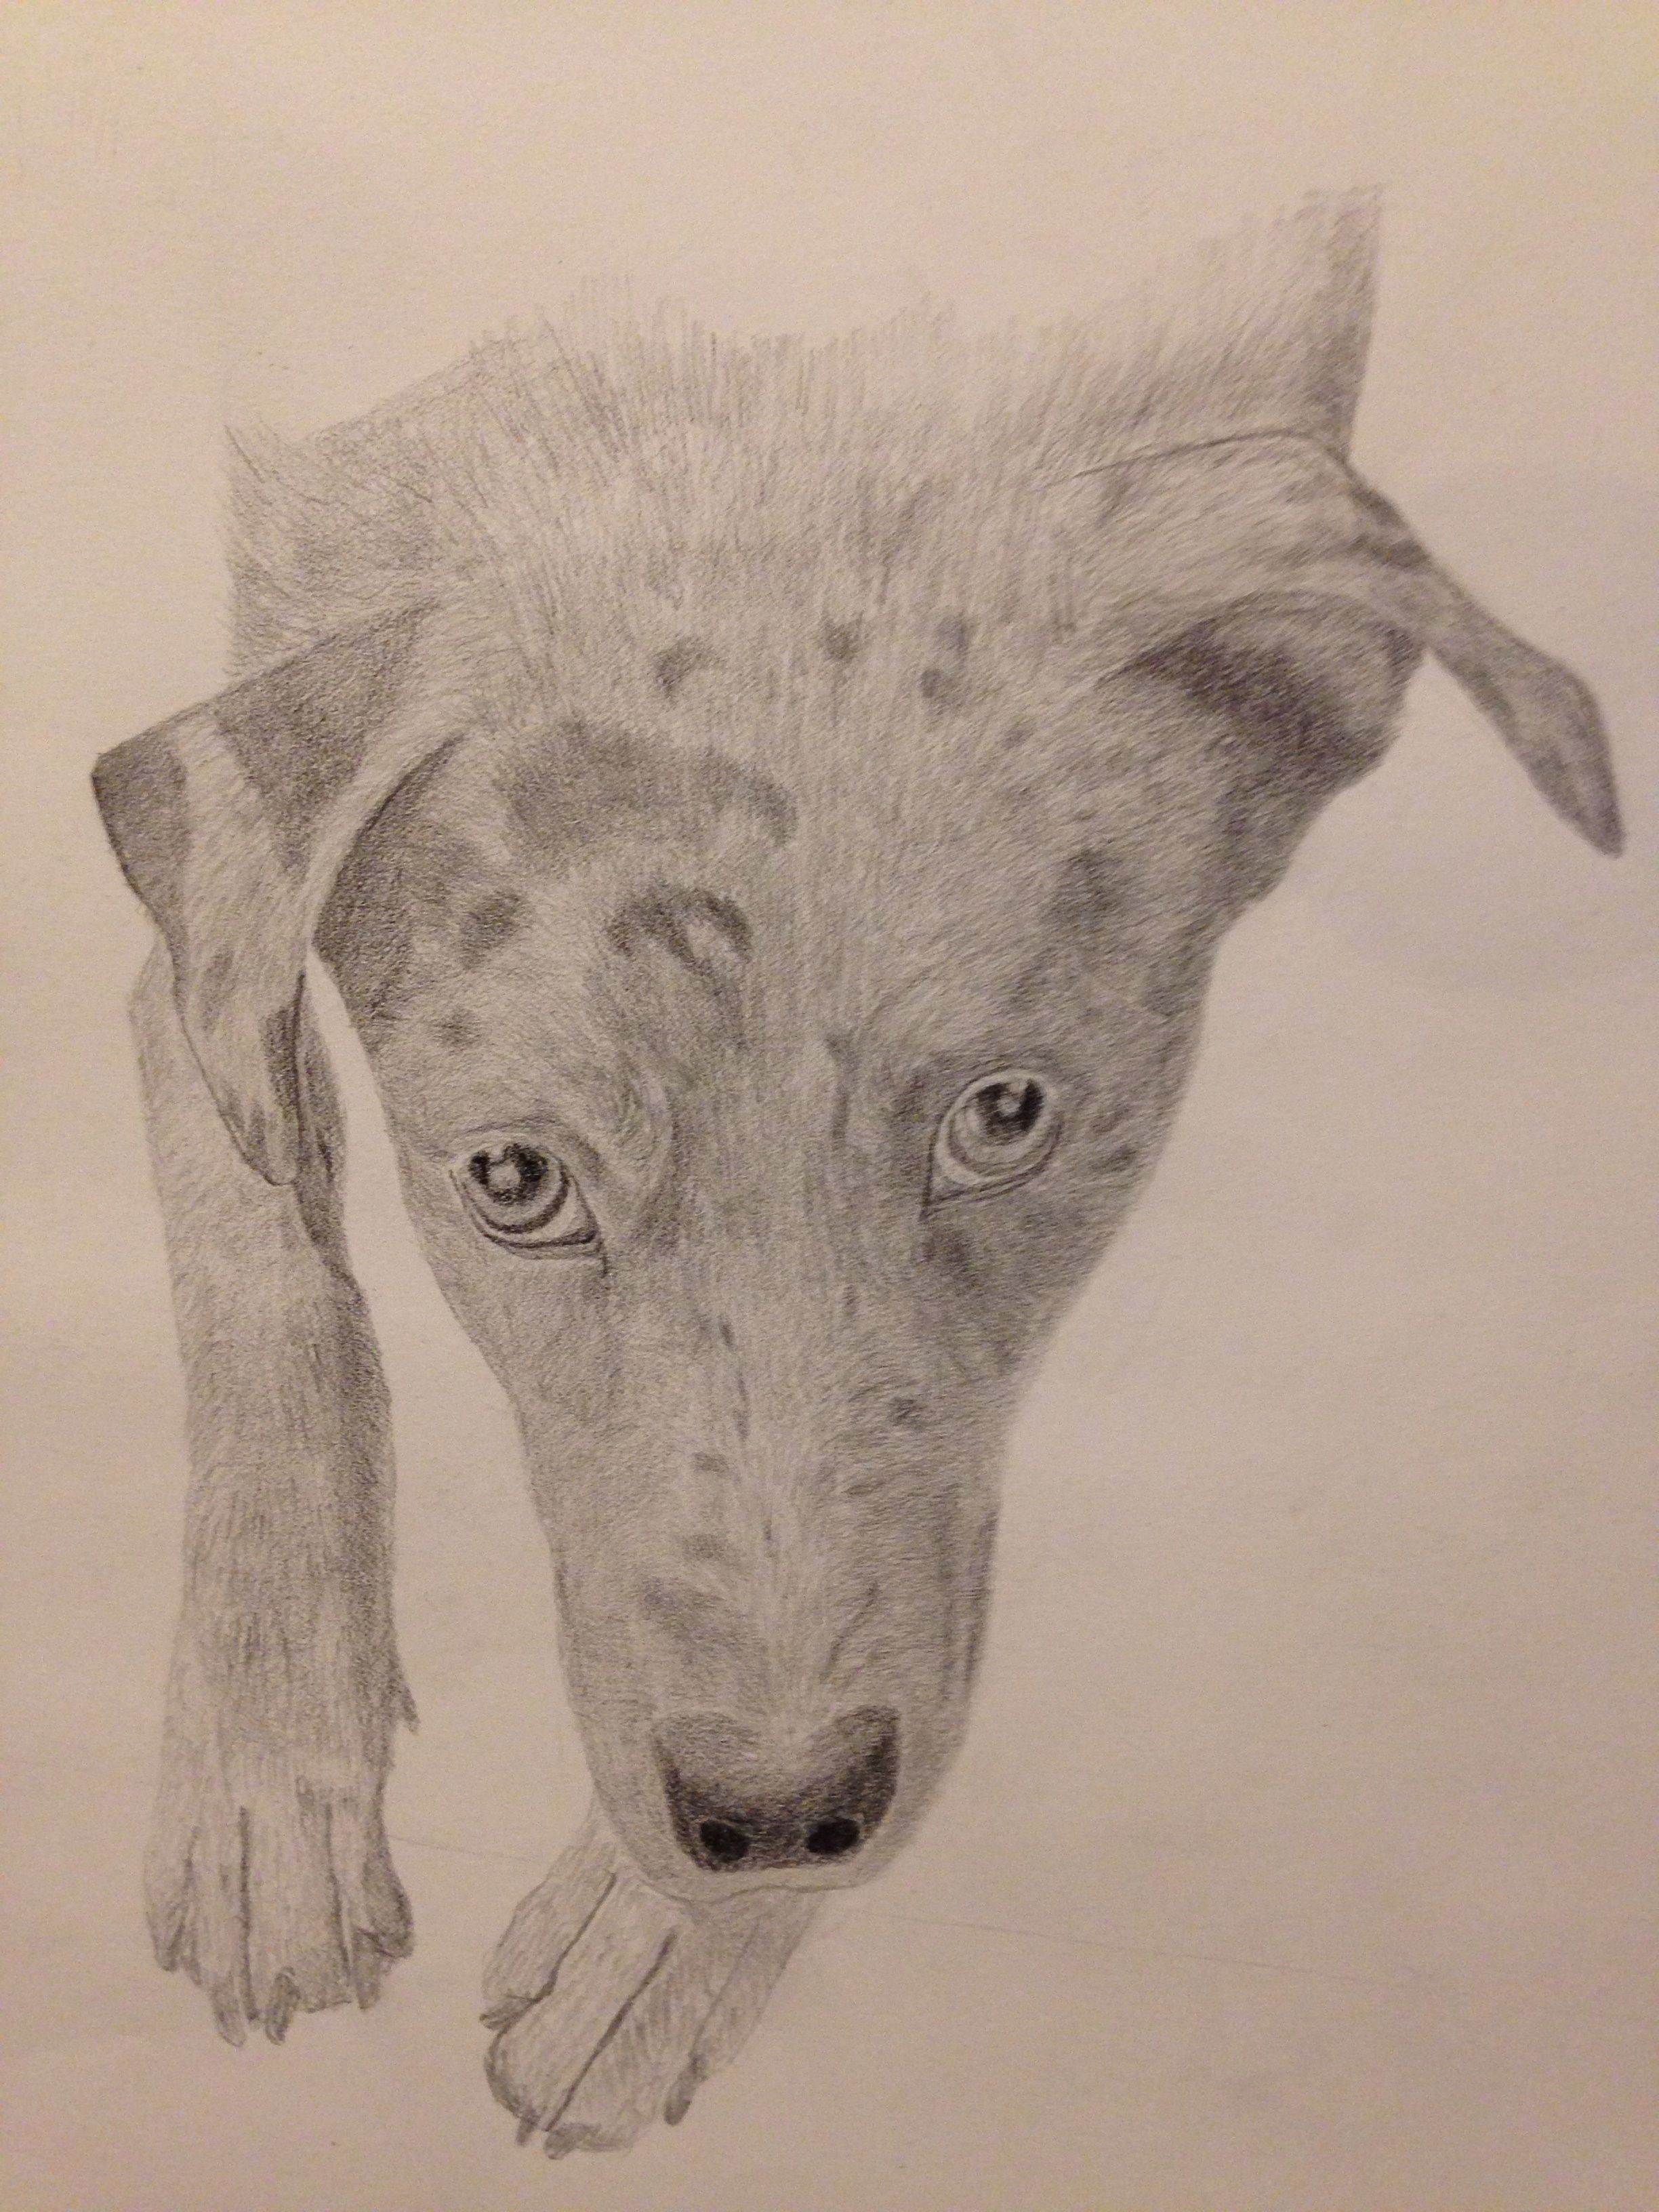
“Play with me?” done

So it may not look like much was done between the last post of Zip’s face, which I’ve decided to call “Play with me?”, but I spent a couple of short sessions trying to get the shading just right so the composition has more depth. I think I’ve taken it as far as I can and ready to move on, although my drawing instructor (Laurie) may have something else to say about that, but I’m really happy with it for my first real effort at a dog face drawing. Now I have 2 other dogs who are jealous and ready for their turn in the studio.

IMG_2804

For those interested in the technical details:

  • Used 3 pencils in the composition – 2B, HB, and an ebony
  • Strathmore drawing paper, 14×17, but used about 75% of the page
  • Not sure how much total time, but best guess is probably 6 hours
  • Reference photo of Zip was taken indoors, light source was a table lamp in upper left corner
  • Zip is a 2 year old rescue mutt, Aussie Catahoula mix; she’s ball obsessed and the biggest personality on 4 legs I’ve ever met

Lines & Blossoms – Impasto Strikes!

Spent a couple of sessions working through the latest challenges with this fun, albeit difficult composition.

Since the last update, a number of things have been tackled, some more than once.

First, the focus remained on the buildings and supporting cast of what will be the cherry blossom tree. This set of sessions updated a number of touchup items, but the primary focus was a) laying in the window woodwork, and b) getting the base layer of the tree on the canvas. It turns out I don’t have a great brush for the type of detail work on the window frames, but I made do with what was available. Adding narrow detail brush to my supply list, but anyone with specific brand/type suggestions is welcome to make comments with the details.

IMG_2799

Next session worked on elements of the composition and the next stage of the tree, including some experimentation with impasto effects.

The most significant update aside from the tree was the addition of a sidewalk (thank you Nina), which added missing structure to the bottom of the work, and gave more strength to the 3-point perspective I was working towards. It’s also going to be a critical part of the composition because it plays an important part in leading the viewer into the painting, whereby there is a clear break in the curb of the sidewalk that leads one into the stairway of the main doorway. The framing of the cherry blossom will enhance this effect.

The impasto on the tree are hard to see in the photo, but believe me they’re there. I dove into my first true impasto medium experience, mixing conservative amounts into the purples and pinks. Its very addictive, especially after having spent hours working on very exacting lines and angles of the homes, then being able to run wild with an array of brushes and styles in exploring how best to represent the beauty of the tree blossoms.

Some other minor updates were made in this session, but things are close to completion. Still need to work a significant layer on the cherry blossom, ensuring there is the right balance of light pinks and whites on the right side of the tree, whereas the values on the left are in shadow and more subdued and less saturated. Furthermore, the black door down the street needs work, as well as some updates to the window panes and their reflections of the sky on this particularly sunny day.

IMG_0165

Zip Drawing update

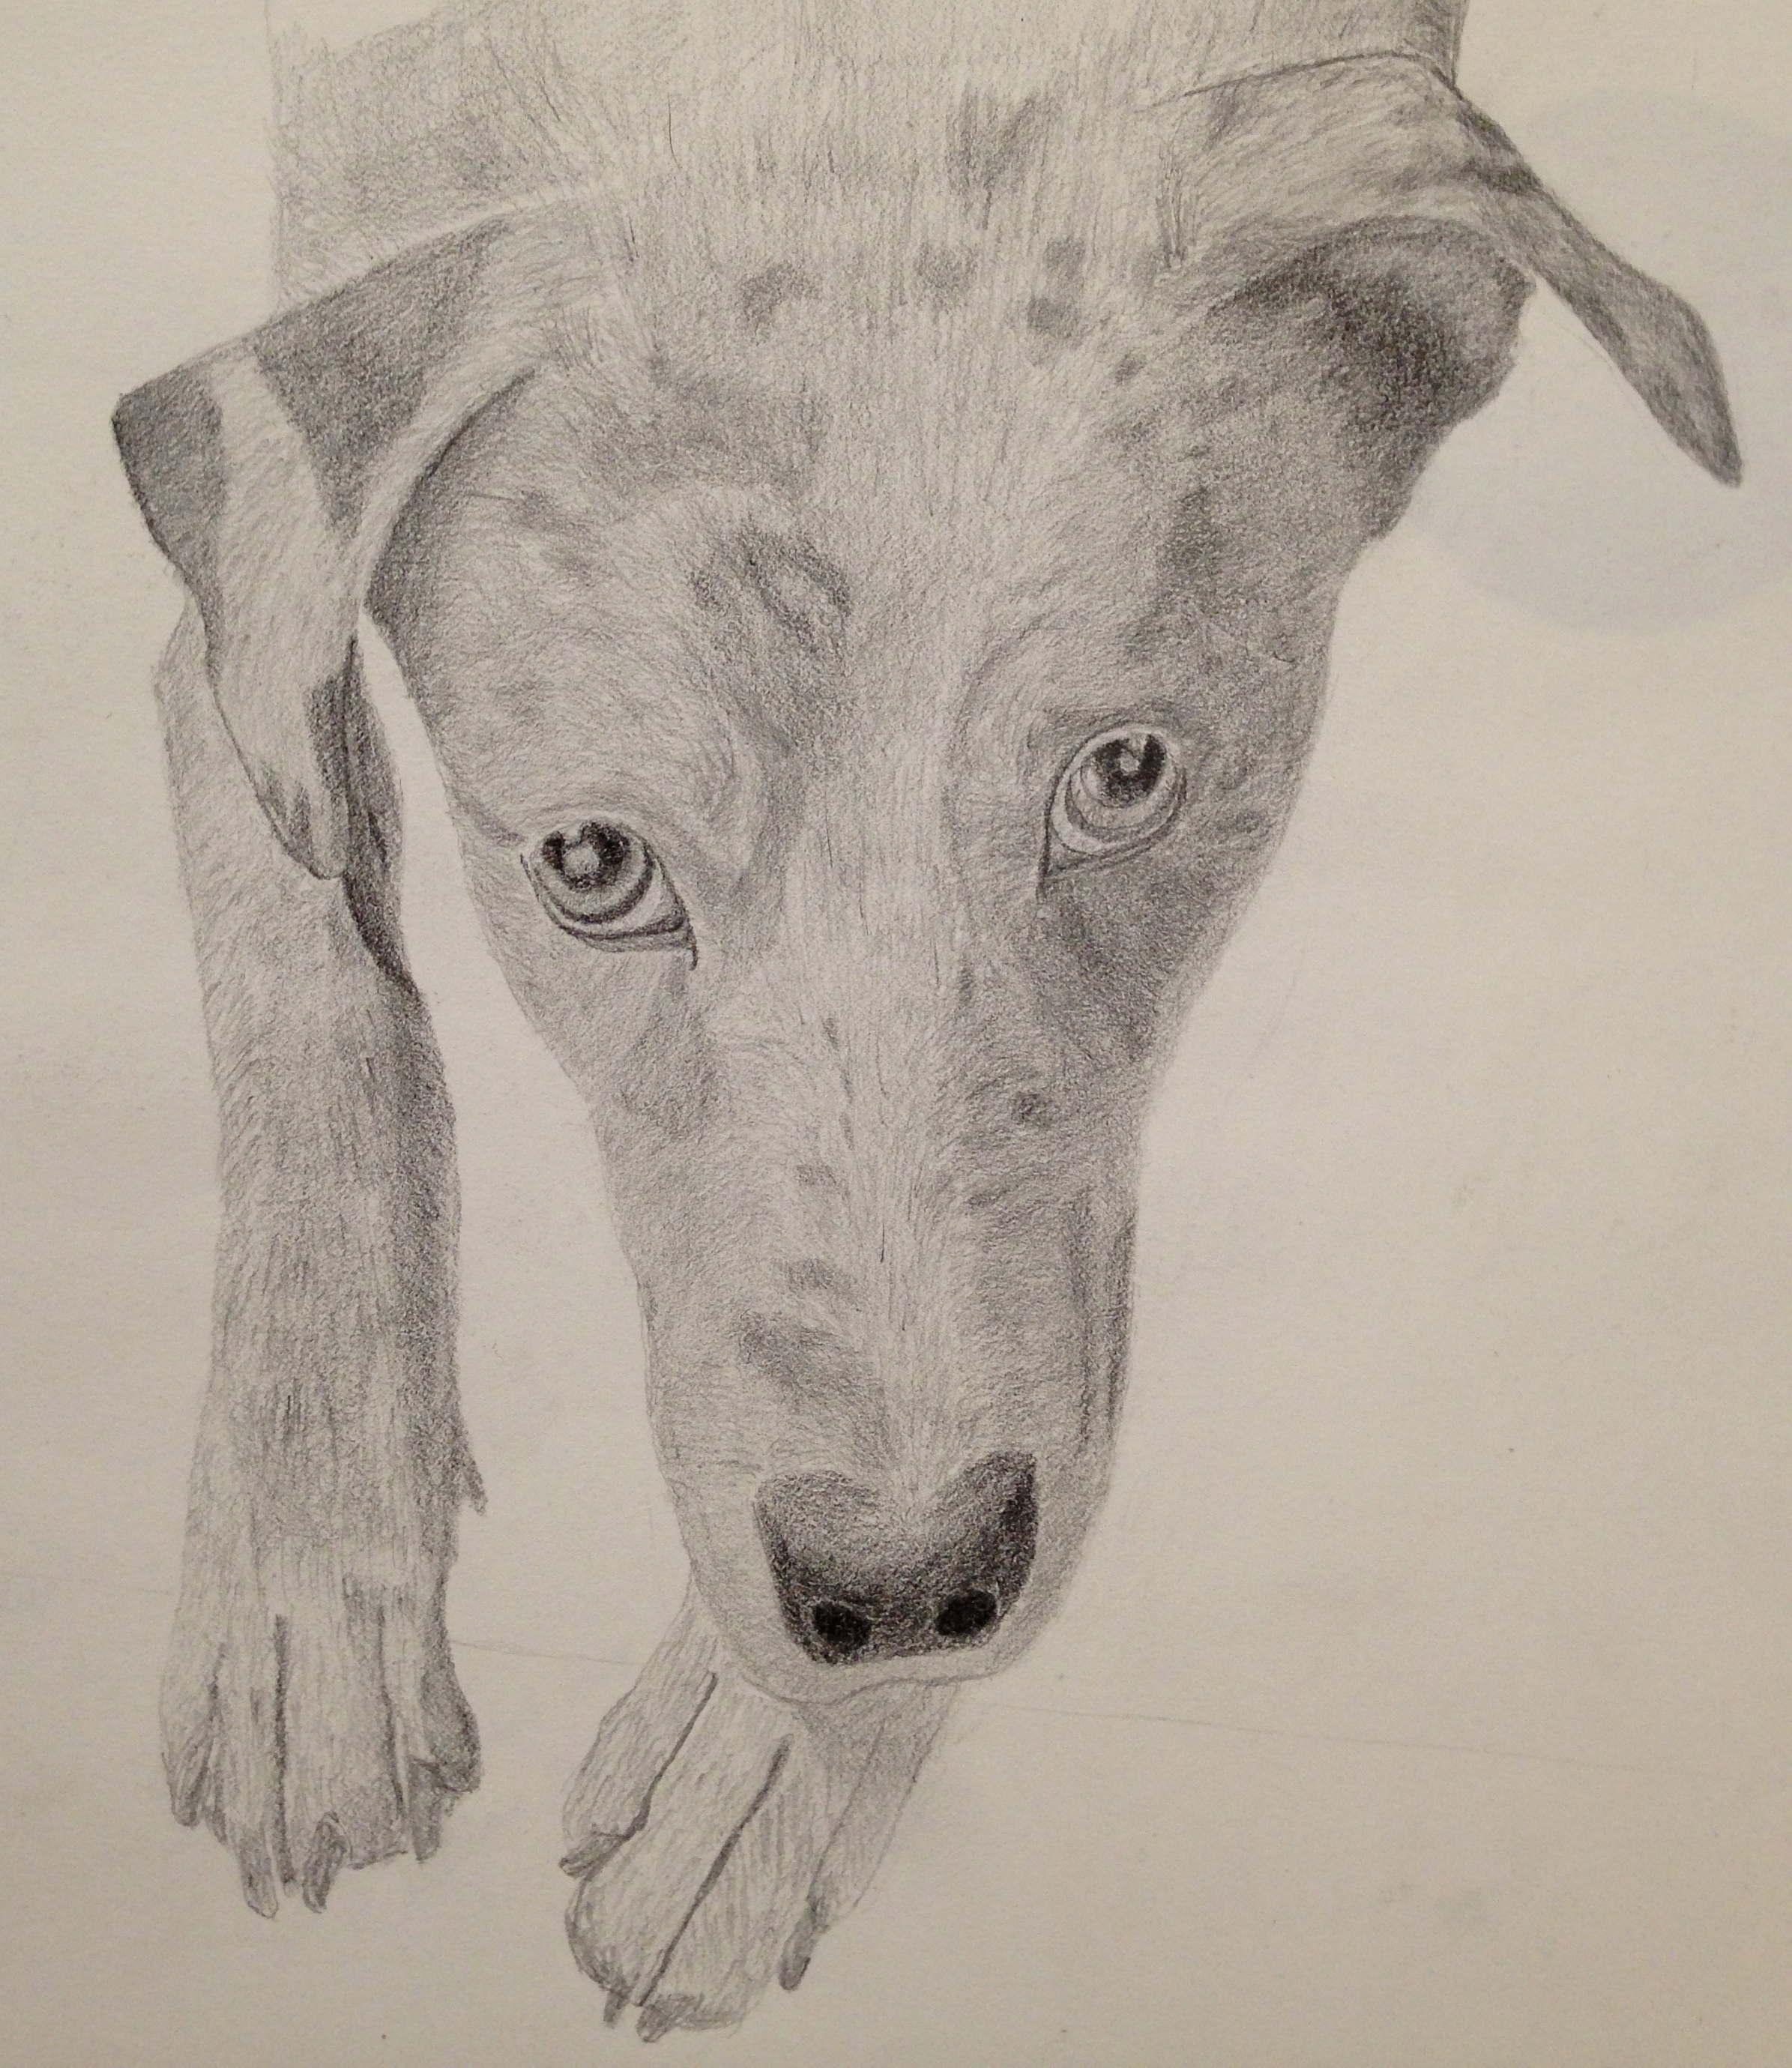
Thanks to some very helpful guidance from my drawing instructor, I learned how to draw the nose and “presto!”, Zip has a complete face! The nose was done with an ebony pencil and the key was getting the values right by working over the area repeatedly. Finally, the paper texture was helpful in giving the nose that dotted/pitted look of a dog sniffer. Never saw that coming, but apparently it’s a reliable trick.

Worked some more shading on the darker side of the face and the paws. I’m guessing one more session should finish this up.

IMG_2797

Sketch of Zip’s face – Part 1 & 2

Zip is one of my dogs, a 2 year old ball of energy. She lives for frisbees and tennis balls. She’s incorrigible and relentless with her need for play, until about an hour after dinner, at which point the storm has passed and she’s wiped out.

The reference photo is what I’m working towards, and represents this calm that I so embrace at the end of the day.

IMG_2737

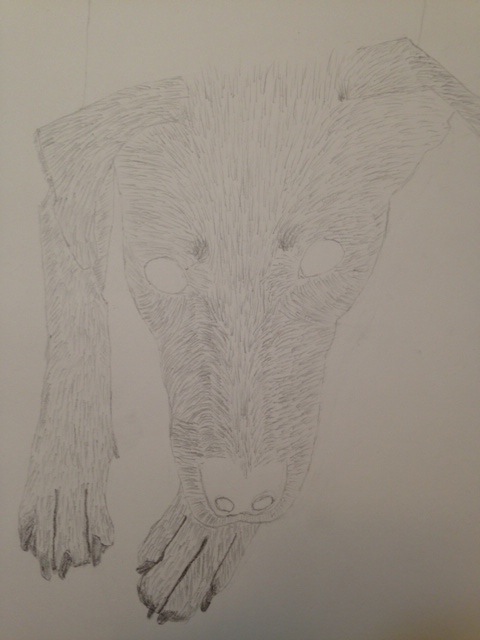
Below is the sketch after 2 sessions totaling maybe 90 minutes. The first 30 minutes was getting the outline right, followed by an hour tonight drawing more than a thousand lines of hair in varied directions. The time it takes to get the masses of hair going in the right direction is indeed tedious, but well worth the effort once the shading of values starts. It’s a little like magic as the shape comes to life. And that’s with just a few other sketches done in this fashion as practice, so I’m hoping these dog faces start to get more realistic with some regular practice.

Zip sketch